
Once all 30 blocks were made, I needed to add borders to each block. Remember that this was my layout which was inspired by Katie's Sampler from the book Vintage Revival Quilts. She blogs at Swim, Bike, Quilt.

In the book and on her blog, she mentions cutting the border strips a little extra wide and then trimming down the blocks to the size you want. This method works so well on sampler quilts if your scant quarter inch seam isn't perfect. It really helps for those times when someone turns on her machine and forgets to move the needle one position to the right. ;)
So I cut all my strips a quarter inch wider and a half inch longer than necessary. I cut my cornerstones out (4.5 inches square) at the same time. It used about 14 inches of each fabric to cut these out. (Some used a little bit less because they only bordered three blocks or I was able to get pieces from the strips left over after making the blocks.)

I was able to do chain piecing and worked on one color at a time.

After the border was on each side, I trimmed it down to 14.5 inches with my 15 inch square ruler. (I love this ruler!)

There is more waste doing it this way, but I think the accuracy is worth it.

As I was squaring up the blocks I put the trimmings into this quart sized jar. It was nice keeping the trimmings off of my cutting table.
When I was to the purple layer Cheetah walked in. I asked him, "Isn't this the prettiest garbage you have ever seen?"
He looked at me like I was a little nuts and said, "What? Are you putting that on your blog?"
A little while later (now at the blue layer) my husband walked in and said, "Oh, do you want me to throw this away for you?"
I quickly said, "No," as he was already reaching for the jar.
Without missing a beat he said, "Oh, is it going to be a decoration?" Isn't he the sweetest? Please tell me I'm not crazy or a hoarder for keeping this. I am thinking about making the top into a pin cushion, but wonder if I should put it in a smaller pint sized jar instead or if they would look too squished. :D
Once the blocks were finished with borders I put them up on my design wall and played with the placement... for an hour... or two. I don't know if you noticed, but there are seven blocks of every color, plus one pink and purple combo, and one blue and green combo. I am so glad I chose to make the blocks that way. I like this rainbow layout better than the scattered one in my original drawing.

I totally love how the blocks turned out with the borders and recommend this method for sampler quilts and bee blocks. It really helps preserve points if your blocks are not all exactly the same size.

My next post will show how it looks with the sashing and cornerstones. Spacing out the blocks makes a big difference.
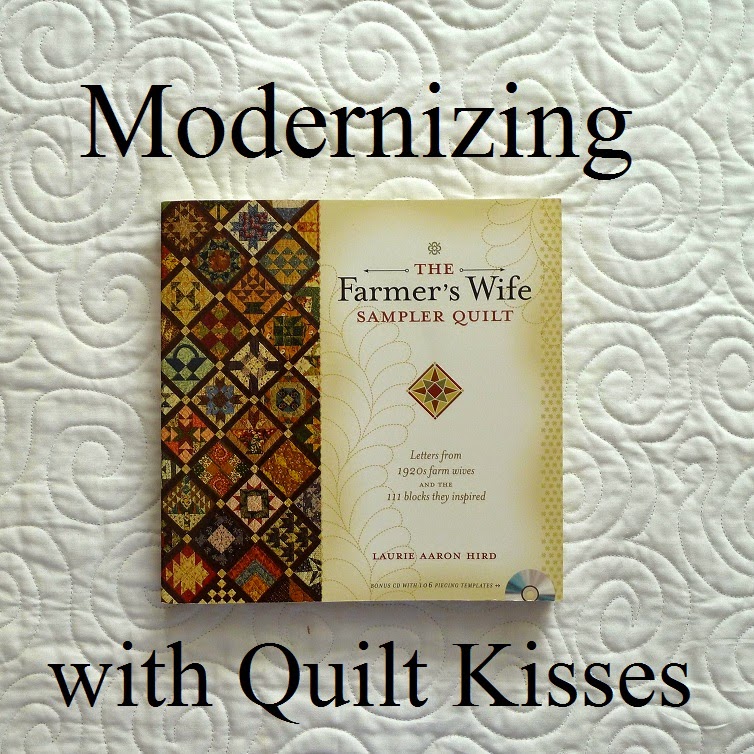
Click on the Modernizing the Farmer's Wife link if you have missed any of the episodes in this series. It will take you to the introductory post with links to every episode.
XX,
Jasmine
Your top is looking good! I would keep the scrap jar just like you have it. It looks so pretty.
ReplyDeleteThis quilt is really coming along! I love the little frames on the blocks. But I did have to giggle at the jar of scraps. It is pretty cute!
ReplyDeleteIt looks good, Jasmine!
ReplyDeleteI must say that I am not familiar with the FWQ, but I have been following your progress with interest. I can imagine doing something similar in the future.
I have two huge glass jars, they must be a gallon, with a locking lid and I have been filling them with AMH scraps...It sits on my bookshelf in my sewing room and it is quite decorative...:-)
The blocks really pop with the borders added to them. I am excited to see the transformation with the sashing and cornerstones.
ReplyDeleteThe jar of scraps is really pretty. If you ever need to hide something small from prying eyes it would be a good hiding spot. ;)
I am so impressed by your project! Other design ideas have come to the foreground, so I have to wait a bit with new really big projects. But I will make a quilt like yours. It is pretty!!!
ReplyDeleteEsther
I love the frames on the blocks, it really makes them come alive. Can't wait to see it with the sashing and corner stones.
ReplyDeleteI love the frames, it looks fantastic! I,also,tend to forget to move my needle over :)
ReplyDeleteYour blocks look simply beautiful. Thanks for sharing your thoughts on how you added the sashing and then trimmed to size. Looking forward to seeing these pretty blocks sewn into the top!
ReplyDeleteLove it! The sashing is the perfect way to keep everything the right size. And keep the jar! At least for a bit. Pincushion would be perfect!
ReplyDeleteJust stumbled on this quilt and I love it! if you have 12" blocks (12.5" x 12.5") how wide were the strips for the color border - I assume 2.5" wide and 14.5" long? Then for sashing and cornerstones - 4.5" wide and 14.5" long with 4.5" squares?
ReplyDeleteI cut my strips a little wider than necessary. I cut them at 2 inches wide, but them trimmed the blocks to 14.5 inches (unfinished). They strips actually finish about 1" wide. Hope that helps!
Delete