

This is a project that I am so proud of. You see, I designed most of it myself with the help of a friend. It is loosely based on a pattern provided by Handi Quilter for the HQ 18 Avante.
When I searched online for a pattern for a sixteen inch sit down machine, I could only find the one for the 18 inch machine. They say the machine is only two inches bigger and to just use the pattern meant for the Avante. So I took some fabric I was given that I didn't like the feel of to make a practice cover...
It was an epic fail.
I took the practice cover to my dealer and asked for suggestions. I learned that not only does the Avante have handles at the front of the machine, it has handles behind the machine. So the pattern was way more than two inches too large. My sweet friend Julie (from the dealership) worked with me and helped me come up with some ideas for alterations. Then she sent me home to figure it out. I know I could not have done this without her.
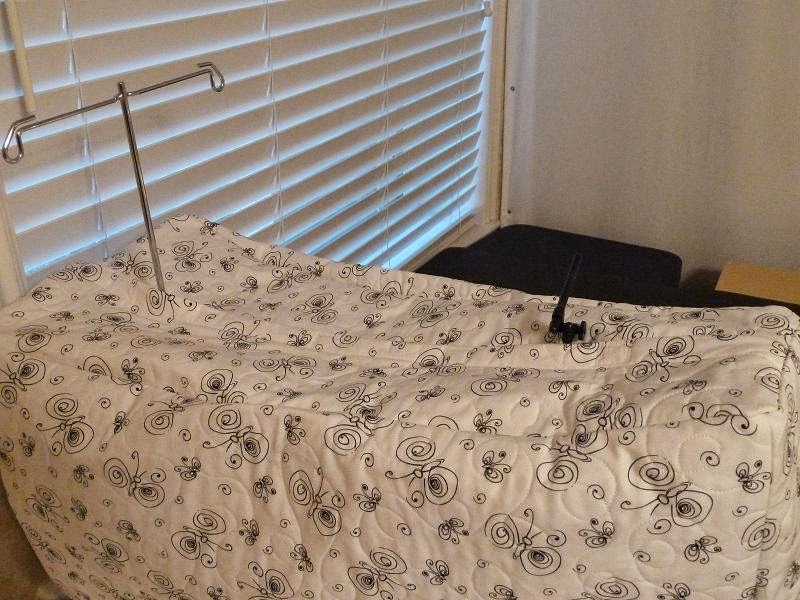
This is what my practice looked like after I shortened the cover by ten inches. (That is the section pinned on the side.)

It still looked like a saggy, baggy elephant. Here is the view from the front. The front panel is three inches taller than the sides.

After making the front panel half the width, this is what it looked like. Much better, but it still needed tweaking.

I quilted a yard and a half of fabric, cut out the pieces, and sewed it all together. Here is the finished product:
The only thing that stayed the same was the cut size of the back panels and the general idea. There is only one thing I would change to my pattern: I would lengthen it by one inch to fit over the cords in the back better. Other than that, I totally love it!
I shortened the side panels, made them taller, and cut the bottom on an angle so it could go up over my touch screen. I also tapered the top panels to make it narrower at the front. I made a one inch hem to sew the Velcro to. (By the way, I zig-zagged around the Velcro. It worked so well.) The two sections for the top and back panels make it able to go around the spool holders.
Plus, I serged around the panels before sewing it together and bound the bottom edge. Handi Quilter said it was optional in their pattern, "You may want to serge or bind the edges that will be open to finish." LOL.
Here is the view from the front. Now it looks like a sleek elephant. In fact, I am thinking about calling my machine Princess El. I already called her Princess, but I have been wondering about a more specific name. :)

Here she is, under her new cover. This picture also helps you see the basic design better.

A cover became a necessity when my sweet Monkey decided to act like a typical two year old. He had the mentality of "If there is a button, push it. If there is a knob, turn it." He enjoyed adjusting my tension for me when the machine was not in use. Now he won't have access to my tension knob. Plus, it is protected from dust. A win-win solution.
I did make lots of notes and take pictures of the process. Is anyone interested in a tutorial?
** I am happy to say that the tutorial is now finished. Click here to view it.
XX,
Jasmine
P.S. I am linking up with Let's Bee Social, Needle and Thread Thursday, Can I Get a Whoop Whoop (buttons on sidebar) and Finish it up Friday.
You did a great job! I'd take the tutorial if I had a machine to make one for...
ReplyDeleteGreat job. A definite improvement on the first attempt. You not only made it fit, you also made openings for the spool holders and added Velcro. There must have been a lot of measuring involved, but the result is well worth the effort.
ReplyDeleteIt took a lot of work but you got there and it turned out beautifully. I love the butterfly fabric and I'll made sure to refer to her as Princess El, from now on. I have to cover my machine because my cat will grab the thread, coming out of the needle, and then run through the house, with it. I was loosing too much thread.
ReplyDeleteWow....this looks great...would love to see a tutorial for your pattern in detail. I really need one of these!
ReplyDeleteVery Clever!! Nice job. Carole @ From My Carolina Home
ReplyDeleteThere is no better satisfaction then the one you get from tackeling a challenge, especially if the outcome is as perfect as yours :) Good luck with the bloggers festival entry!
ReplyDeleteI would like a tutorial. It would be a big help, and very generous of you. Thanks.
ReplyDeleteYay Jasmine! How did you know that I was staring at my machine today and noticed the dust that had accumulated on her! Love your cover and would indeed appreciate a tutorial!
ReplyDeleteGreat cover up!
ReplyDeleteI saw your comment over on the Yahoo group. This looks spectacular!! I love it!! I would love it if you posted a tutorial on this.
ReplyDeleteNice job, perfect fit!
ReplyDeleteI have an hq16, and I would love a tutorial! Your cover is a perfect fit!
ReplyDeleteGreat job, Jasmine! Your Princess looks sew happy in her new outfit. I am glad that you showed all the steps it took for you to work through to getting such a perfect finish. I often try out new techniques or pattern tweaking using fabrics that are never going to be made into a project. Awesome finish!
ReplyDeleteLooking good! Well done! I use plastic cover that came with my machine. Much easier, lol.
ReplyDeleteVery nice job!
ReplyDeleteI am looking forward for the tutorial. I bought some heavy weight clear plastic and lots of bias binding, but I won't say how long ago!
ReplyDeleteLove the process photos. I always love it when people tell you something is going to be so simple and it turns out to be a big disaster instead. You made some serious lemonade with one big lemon of a pattern! Great job Jasmine.
ReplyDeleteI get the two year old thing - previous two-year-olds in my family put pins inside my machine, adjusted tension, removed springs, sharpied the front of it, and basically wreaked havoc.
Just wait until he figures out how to remove the cover!
Thanks for sharing the process. It was fun to see this go from disaster to lovely finished project. You definitely don't want a helper surprising you with tension adjustments.
ReplyDeleteWow Jasmine, this looks great! I love the fabric you chose and the fit looks perfect. Nice job!
ReplyDeletewould love a tutorial, thank you
ReplyDeleteJust became a follower via GFC. Please come follow us back!!
ReplyDeleteThanks!
Anna and Sarah
quackadoodlequilt.blogspot.com